Configuration tabs resides settings that are used to manage fan power control. There are eight sections in the configuration tab.

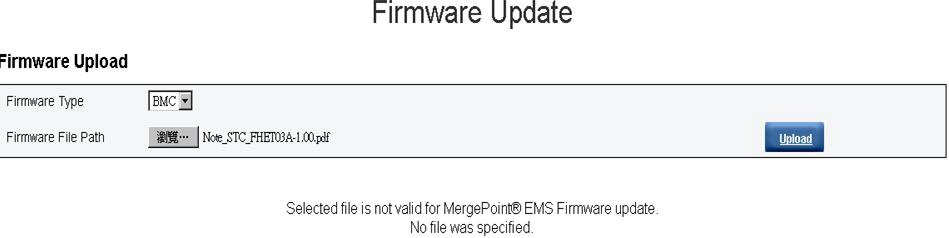
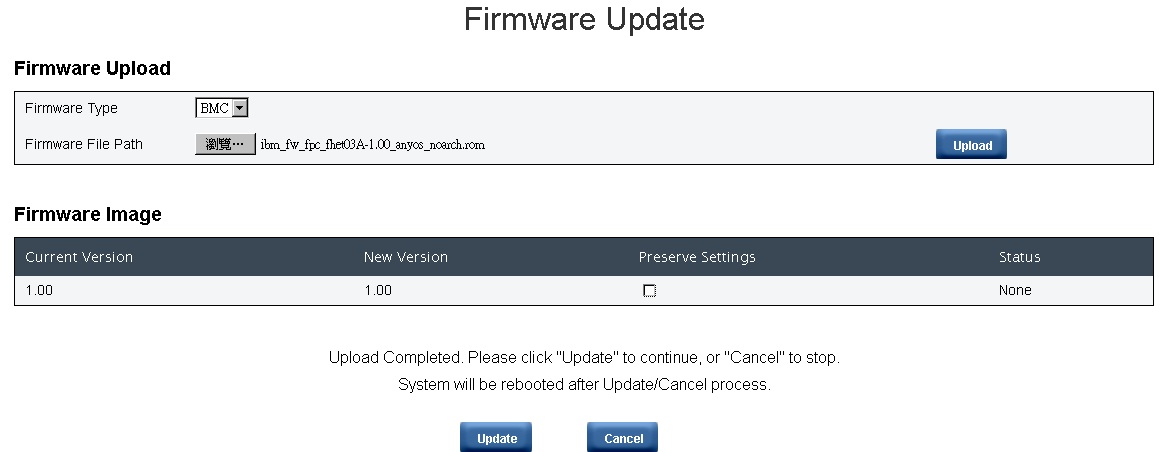
Firmware update
There are two phases to the firmware update process. During the firmware upload stage, you can choose path to fetch the firmware image. FPC checks the image header information for validation
- SMTP
- SNMP
- PEF
- Network configuration
- Time setting (always kept regardless if Preserve Setting is checked)
- User account
- Web service
During updating, you are directed to a loading page where all FPC functions are locked.
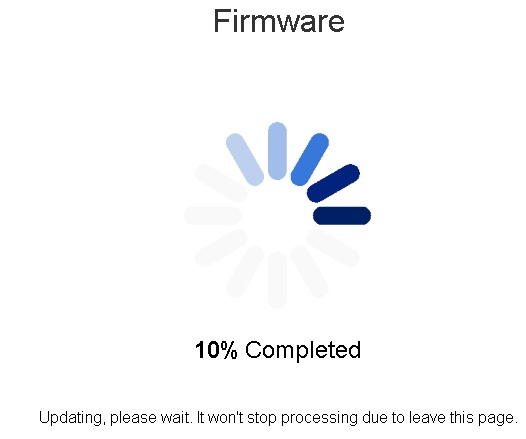
Once the progress reaches 100%, FPC automatically reboots and you need to log in again to access FPC Web interface.

SMTP/SNMP/PEF tabs
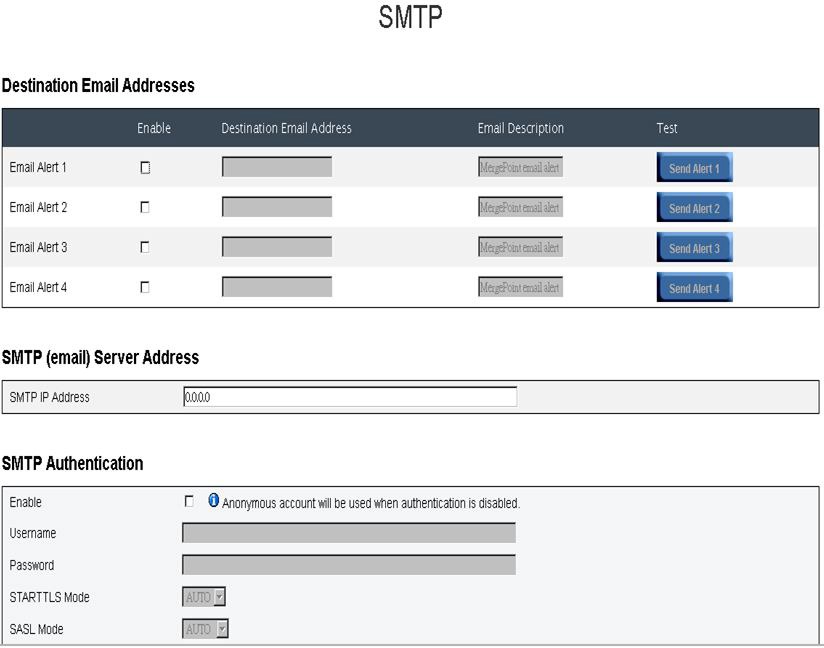
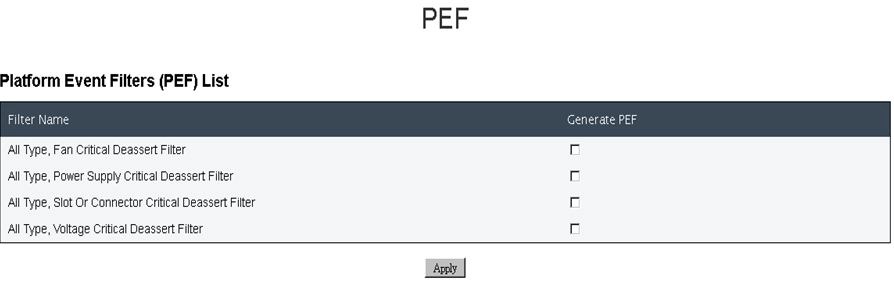
Configured SMTP and SNMP traps allow you to monitor chassis for selected events. SMTP/SNMP trap event types can be set in the PEF (Platform Event Filter) tab. SMTP email-alert and SNMP trap can be enabled, configured, and tested in the SMTP and SNMP tabs respectively. Global Alerting Enable in PEF tab also needs to be checked to enable email alerts. For SNMP trap type, check the Generate PEF box for targeted type of events. For SMTP trap, all the events will be sent to destination email address when Global Alerting Enable is checked.

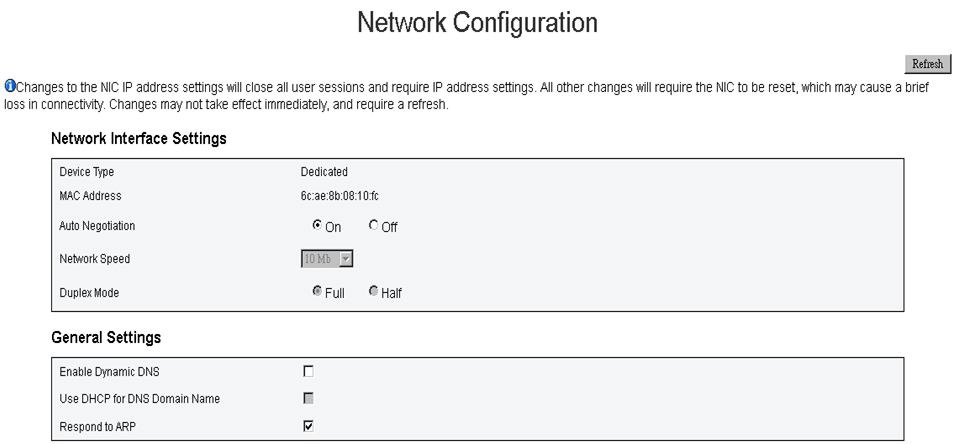
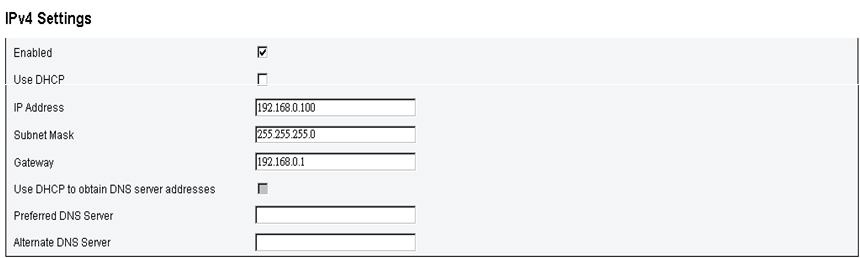
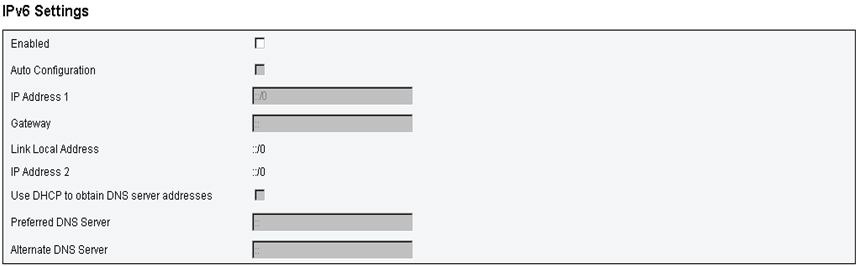
Network configuration
Network configuration allows you to modify networking parameters: Hostname, DNS Domain Name, Auto Negotiation Mode, Network Speed, Duplex Mode, IP Version (IPv4, IPv6) Enable/Disable, IP Address, IP Source (Static, DHCP), Gateway, Subnet Mask, DNS Server, VLAN, and so on.
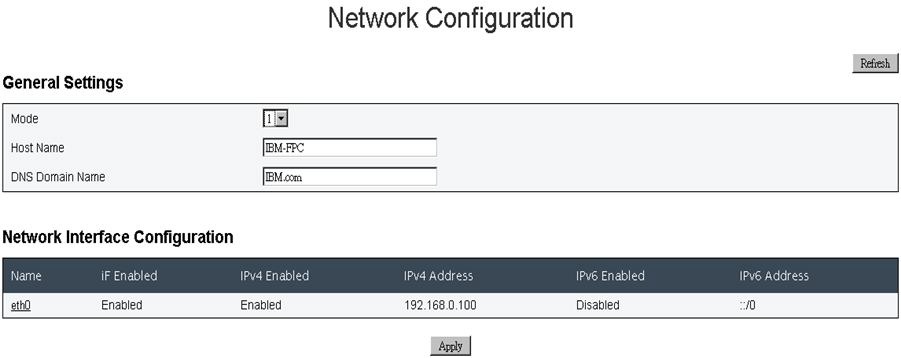
Click on the item of Network Interface Configuration leads to the detail network settings.

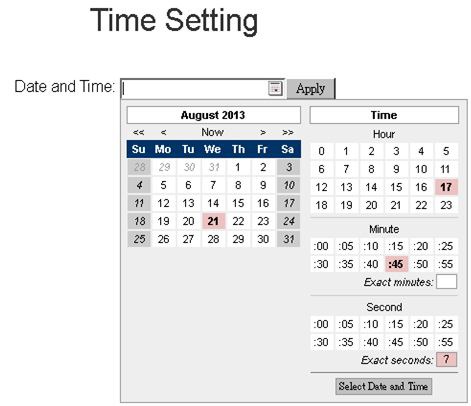
Time setting
This tab is used to configure system time. Select date and time and apply. Once they are set, the time is always kept even if you restore settings to default or uncheck Preserve Setting during firmware update.
User account
There are three types of user roles:
- Administrator: Has full access to all the Web pages and can modify all the settings and configurations.
- Operator: Has full access to all the Web pages except User Account page. Operator can only see its own account in the User Account page and no modification is allowed in the account page.
- User: Has full access and modification rights to all the pages except the following pages in Configuration tab: SMTP/SNMP/PEF/Network Configuration/User Account/Web Service. Only viewing right is allowed on these pages. No modifications.
The following illustration displays the User Account tab if you are either User or Operator.
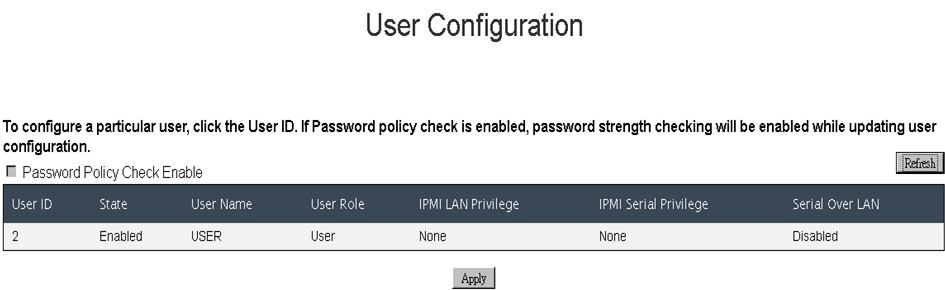
The following illustration displays the User Account tab if you are the Administrator.
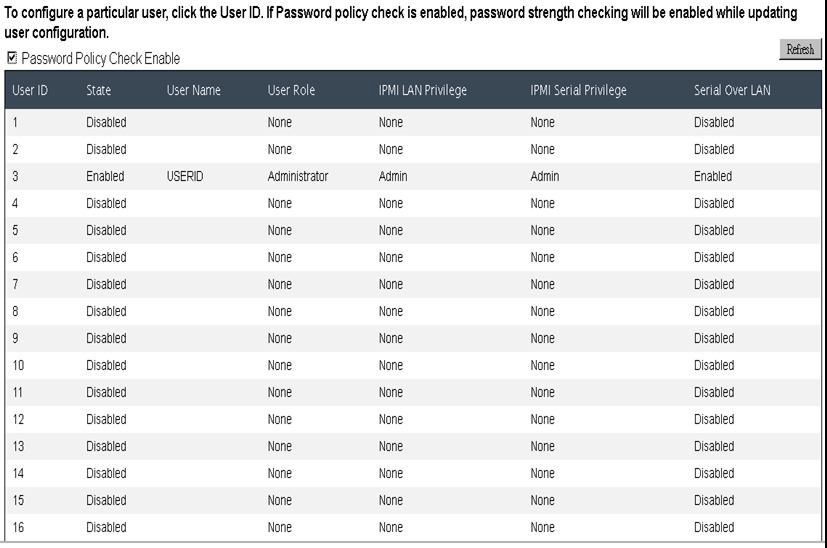
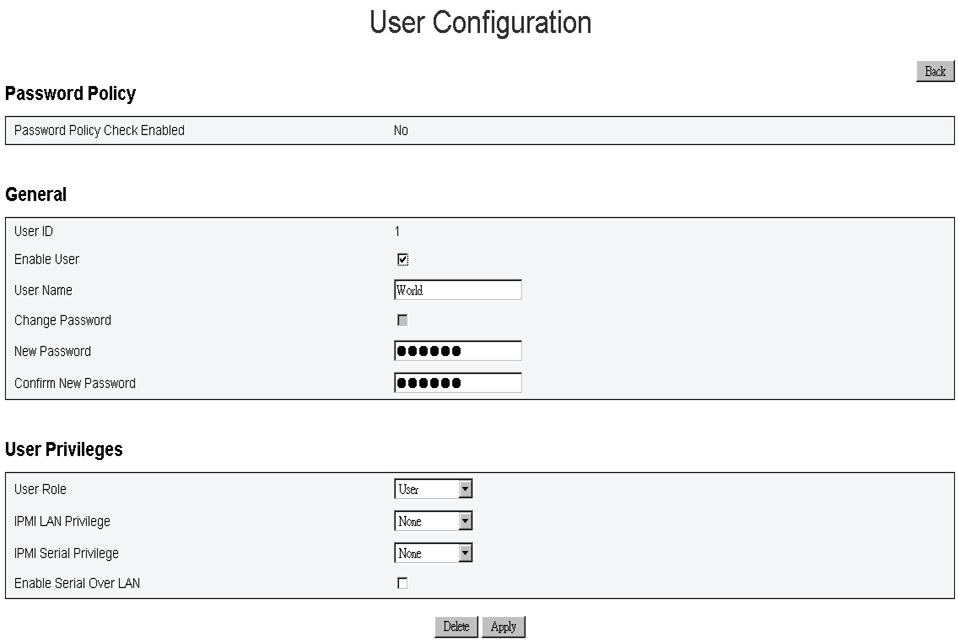
Click on one of the accounts leads to User Configuration. You can enable/disable/delete account, set user name, set/change password, and select user privileges here. When Password Policy Check Enable box is checked, account password needs to be at least 8 characters with numbers, letters, and a character to be considered a successful set.
- English uppercase characters (A through Z)
- English uppercase characters (A through Z)
- Base 10 digits (0 through 9)
- Non-alphabetic characters (for example, !, $, #, %)
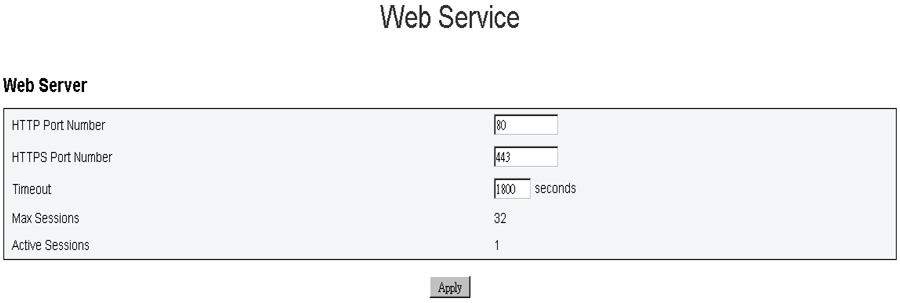
Web service
Web service let you configure different HTTP/HTTPS ports for connection and the Web page timeout period.