(Trained service technician only) Use these instructions to remove the chassis midplane from the NeXtScale n1200 Enclosure.
Before you remove the chassis midplane, complete the following
steps:
- Read Safety and Installation guidelines.
- Shut down the operating systems and turn off any compute nodes in the chassis. See the documentation that comes with the compute node for detailed instructions.
- Open the release handles on the compute nodes and the management node, if one is installed, to disengage the nodes from the chassis midplane connectors.
- Disconnect the chassis from power.
- Disconnect all cables from the modules in the rear of the chassis.
- Remove the components from rear and front of the chassis.
To remove the chassis midplane, complete the following steps.
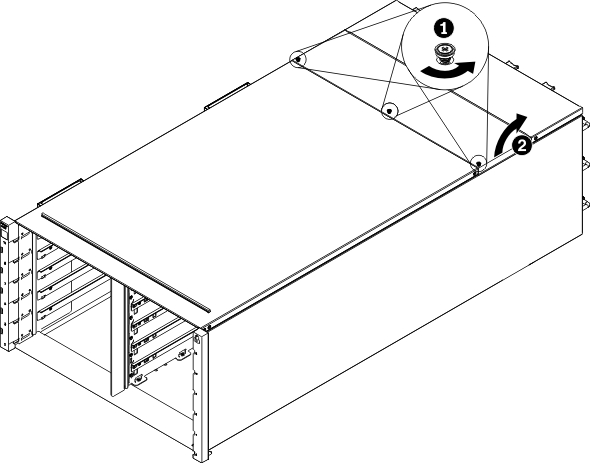
- Rotate the top cover outwards.Figure 1. Top cover outward rotation
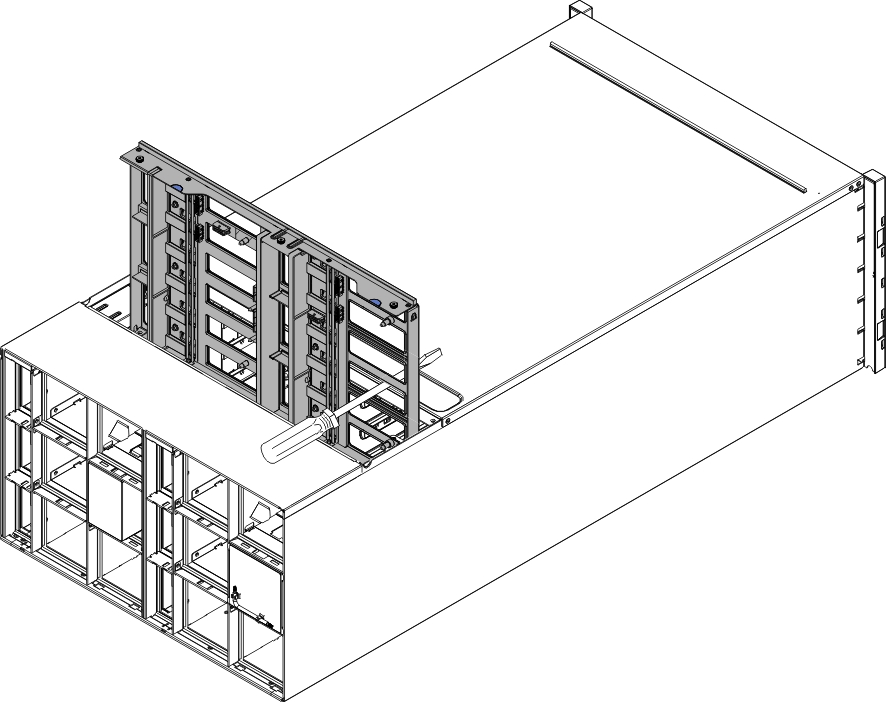
- Lift up the chassis midplane half way. Put a screwdriver
or a stick in the middle of the chassis midplane so your hands are
free.Figure 2. Removal of the chassis midplane from a chassis
- Carefully grasp the chassis midplane and slide it away
from the chassis.Note: Make sure that you do not grasp the connectors on the chassis midplane. You could damage the connectors.Figure 3. Removal of the chassis midplane from a chassis
