(Trained service technician only) Use these instructions to install the chassis midplane in the NeXtScale n1200 Enclosure.
To install the chassis midplane, complete the following steps.
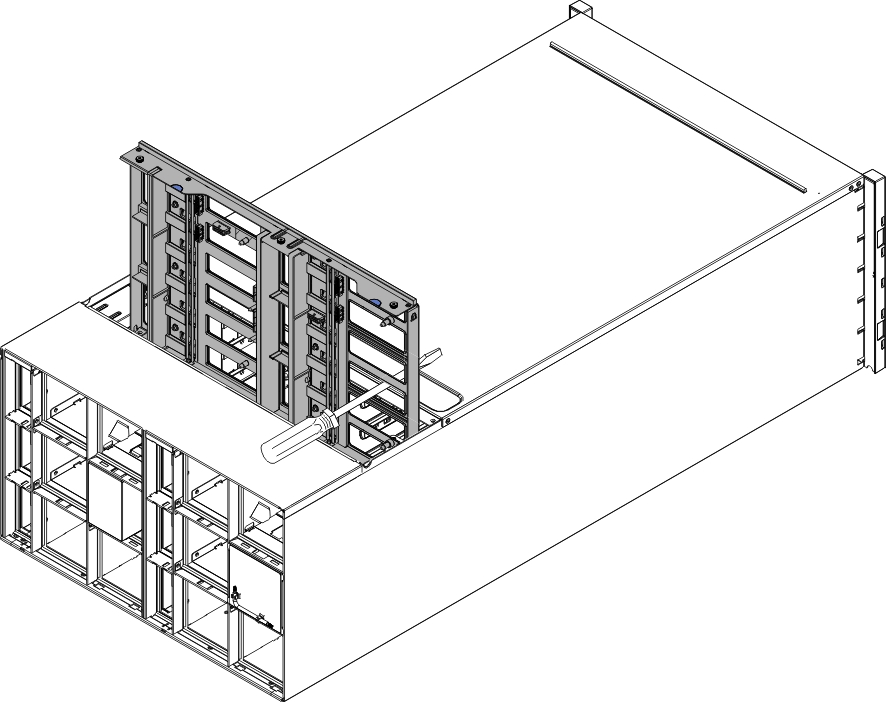
- Carefully align the chassis midplane with the guide pins
in the chassis.Figure 1. Installation of a chassis midplane into a chassis

- Slide the chassis midplane half way into the chassis. Put
a screwdriver or a stick in the middle of the chassis midplane so
your hands are free.Figure 2. Installation of a chassis midplane into a chassis
 Attention:
- You must hold the chassis midplane up against the top inside of the chassis shell and keep the chassis midplane vertical during installation. If the chassis midplane is not inserted correctly, the guide pins can contact the chassis midplane connectors and damage the connector pins.
- Do not grasp the connectors on the chassis midplane when you install it in the chassis. Touching the connectors might damage the connector pins.
- Make sure that the fan power control cable is out of the way when you slide the chassis midplane into the chassis.
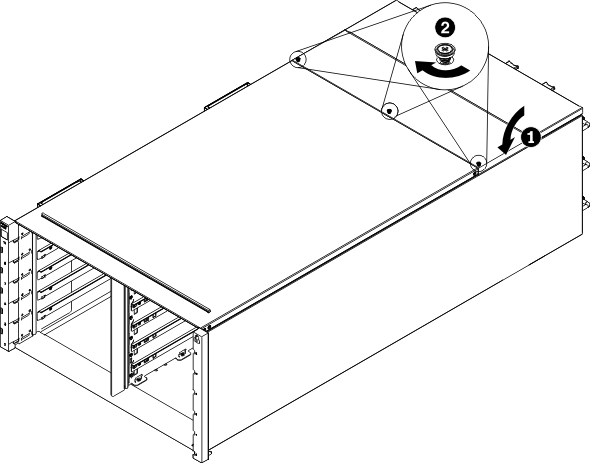
- Tighten the three captive screws on the top cover.Figure 3. Top cover inward rotation
Reassemble the chassis and program the vital product data
(VPD) that is stored on the card. Complete the following steps:
- Reinstall the components that you removed from the rear of the chassis.
- Connect any cables that you disconnected from the modules in the rear of the chassis.
- Connect the chassis to power (see Replacing an AC power supply).
- Write down new chassis midplane serial number (for example: Y030UN34B063) and UUID (for example: 2E2B686CC6B311E2907C6EAE8B16A49E).
- Update the server firmware to the latest level (see Configuration options).
- Log in to the web interface (see Using the web interface).
- Go to System Information section, click on the Midplane VPD tab.
- Update the new chassis midplane serial number and UUID onto the fan power control (see System information options).
- Close the release handles on the compute nodes in order to seat the nodes in the chassis midplane connectors.
- Restart any compute nodes that you shut down. See the documentation that comes with the compute node for detailed instructions.