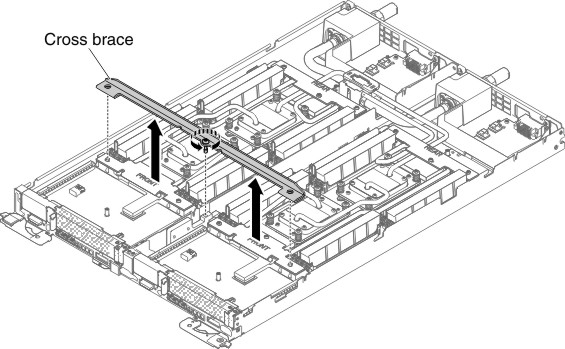
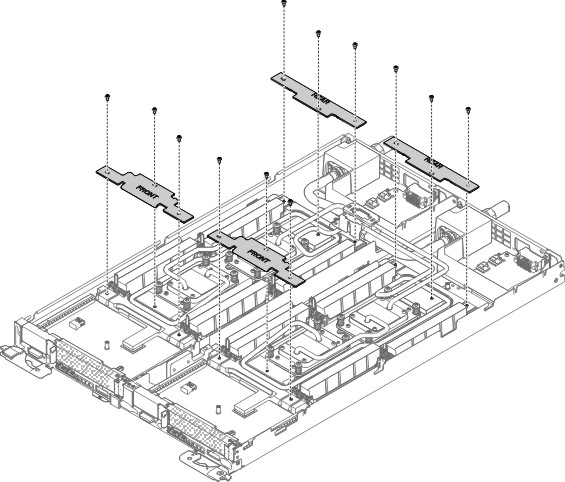
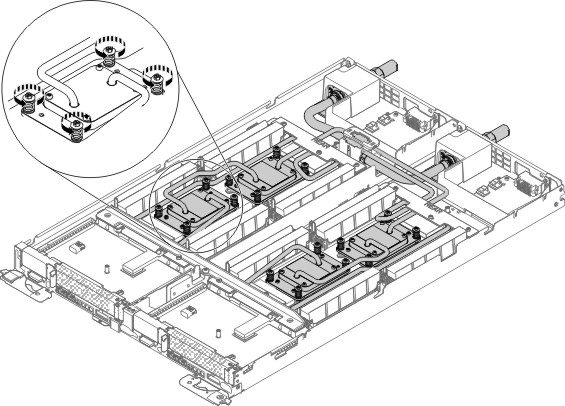
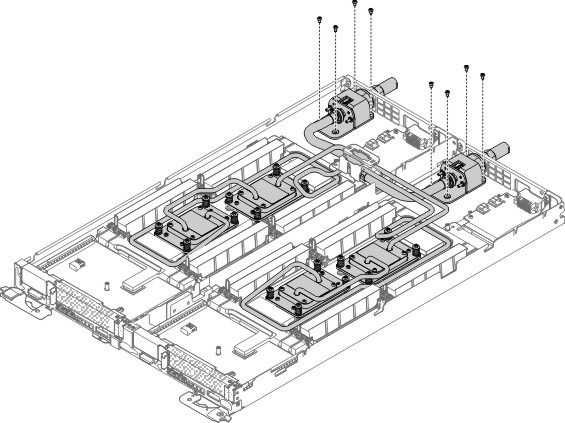
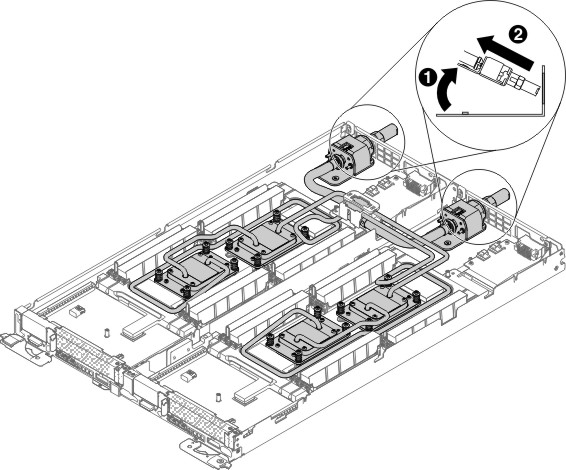
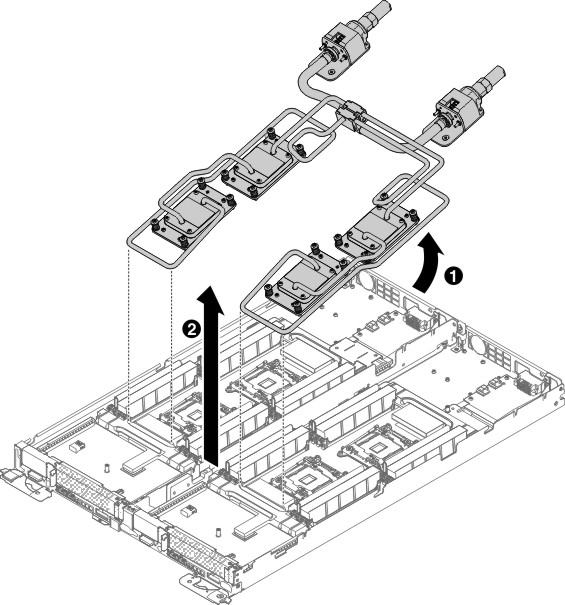
Use this information to remove a copper water loop.
Attention:
- Copper water loop supports Intel Xeon E5-2600 v3 and v4 series.
- Water loop is to be installed only by trained technicians.
- Do not touch the microprocessor contacts; handle the microprocessor by the edges only. Contaminants on the microprocessor contacts, such as oil from your skin, can cause connection failures between the contacts and the socket.
- The pins on the sockets are fragile. Any damage to the pins might require replacing the system board.
Read the safety information in Safety and Installation guidelines.
If you are replacing a server component in the water-cooled technology tray, you need to remove the water-cooled technology tray from the chassis enclosure and refer to the Removing a water-cooled technology tray from a chassis and Installing a water-cooled technology tray in a chassis sections.
To remove a water loop, complete the following steps.
If you are instructed to return the server component or optional device, follow all packaging instructions, and use any packaging materials for shipping that are supplied to you.
