Before you install the system battery, complete the following
steps:
- Read Safety and Installation guidelines.
- If the compute node is installed in a NeXtScale n1200 Enclosure, remove it (see Removing a compute node from a chassis for instructions).
- Carefully lay the compute node on a flat, static-protective surface, orienting the compute node with the bezel pointing toward you.
The following notes describe information that you must consider when replacing the system battery in the server.
- When replacing the system battery, you must replace it with a lithium battery of the same type from the same manufacturer.
- To order replacement batteries, call 1-800-426-7378 within the United States, and 1-800-465-7999 or 1-800-465-6666 within Canada. Outside the U.S. and Canada, call your Lenovo marketing representative or authorized reseller.
- After you replace the system-board battery, you must reconfigure the server and reset the system date and time.
- To avoid possible danger, read and follow the following safety statement.
Statement 2

CAUTION:
When replacing the lithium battery, use only Lenovo Part Number 33F8354 or an equivalent type battery recommended by the manufacturer. If your system has a module containing a lithium battery, replace it only with the same module type made by the same manufacturer. The battery contains lithium and can explode if not properly used, handled, or disposed of.
Do not:
- Throw or immerse into water
- Heat to more than 100°C (212°F)
- Repair or disassemble
Dispose of the battery as required by local ordinances or regulations.
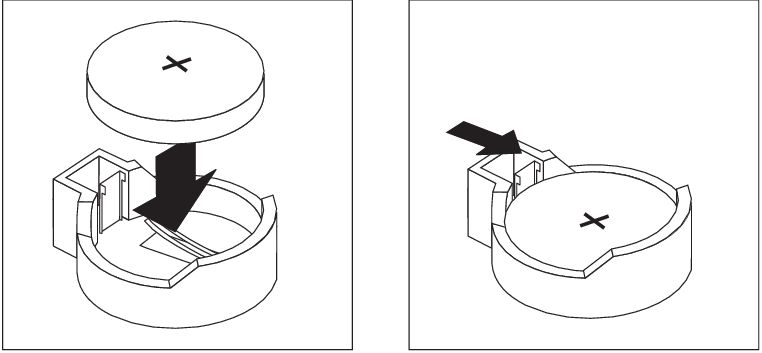
To install the replacement system battery, complete the following steps:
-
Insert the new battery:
-
Tilt the battery so that you can insert it into the
socket on the side opposite the battery clip.
Figure 1. System battery installation
-
Tilt the battery so that you can insert it into the
socket on the side opposite the battery clip.