Before you install a PCI riser-cage assembly to the GPU tray,
complete the following steps:
- Read Safety and Installation guidelines.
- If the compute node is installed in a NeXtScale n1200 Enclosure, remove it (see Removing a compute node from a chassis for instructions).
- Carefully lay the compute node on a flat, static-protective surface, orienting the compute node with the bezel pointing toward you.
Attention:
If the front and the rear PCI riser-cage assemblies are installed, make sure you complete following tasks:
1 Remove the filler.
2 Install the air baffle.
Figure 1. The filler and the air baffle
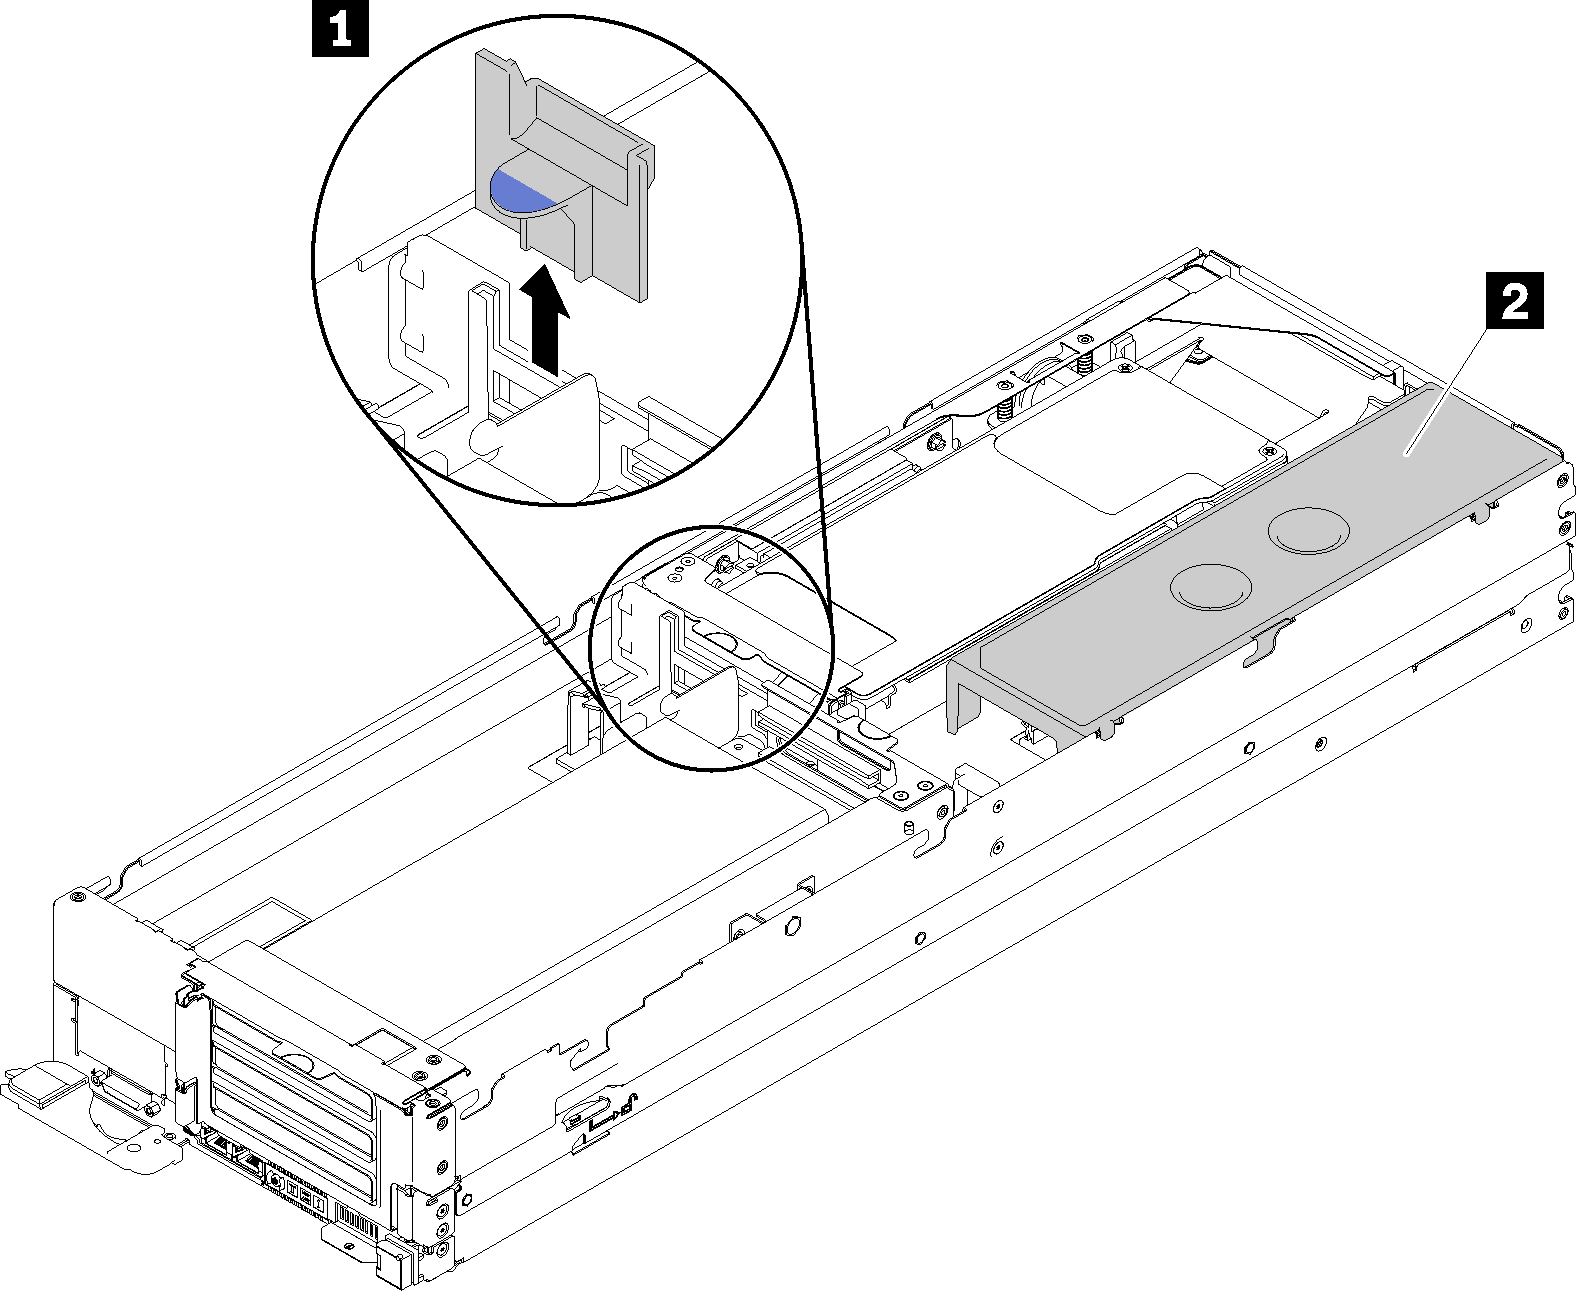
| 1 Filler | 2 Air baffle |
Note: PCI riser-cage brackets must be installed even
if you do not install a GPU adapter.
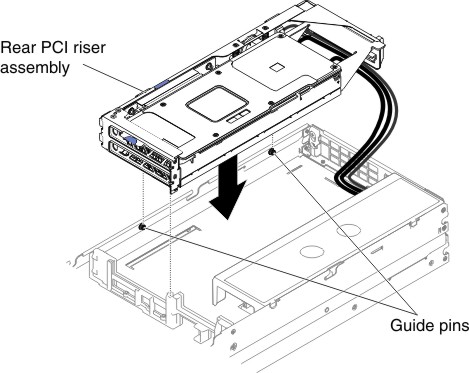
To install a PCI riser-cage assembly to the GPU tray, complete the following steps:
-
Press down firmly until the PCI riser-cage assembly is
seated correctly in the connector on the system board.
Figure 2. Front PCI riser-cage assembly installation
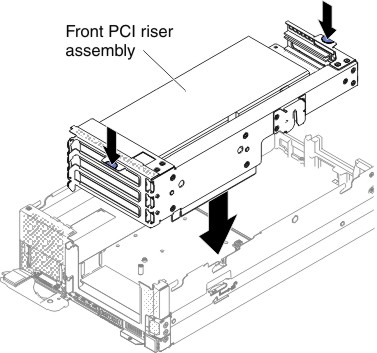
Figure 3. Rear PCI riser-cage assembly installation